In MagicAI, you can host your images on Amazon Web Services instead of hosting them on your local server.
Setting up AWS S3
- Go to aws.amazon.com
- If you have an AWS account, log in to your account. If you don’t have an account, you can get help from this article to create one.
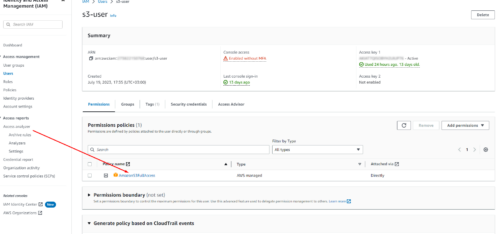
- Create an IAM user on AWS with full access to Amazon S3.
Check out this article if you don’t know how.

- Create an S3 bucket. Check out this article if you don’t know how.
- Make sure you allow public access.
(Do not select “Block all public access” option.)

- Apply the required policy and CORS configurations as described below.
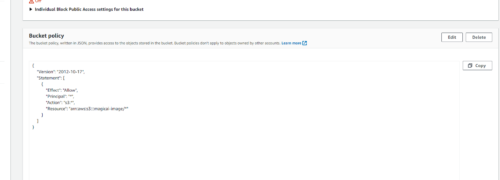
- Bucket Policy configuration
{
"Version": "2012-10-17",
"Statement": [
{
"Effect": "Allow",
"Principal": "*",
"Action": "s3:*",
"Resource": "arn:aws:s3:::magicai-image/*"
}
]
}
- CORS configuration
[
{
"AllowedHeaders": [
"*"
],
"AllowedMethods": [
"POST",
"GET",
"PUT",
"DELETE",
"HEAD"
],
"AllowedOrigins": [
"*"
],
"ExposeHeaders": []
}
]
- Bucket Policy configuration
- Make sure you allow public access.
(Do not select “Block all public access” option.)
- That’s all, let’s configure MagicAI now.
Configuring MagicAI for AWS S3
- Navigate to Settings > Additional APIs
- Add the following values to fields corresponding AWS S3 details.
AWS_ACCESS_KEY_IDAWS_SECRET_ACCESS_KEYAWS_DEFAULT_REGIONAWS_BUCKET
AWS_ACCESS_KEY_ID: Public key generated by IAM user.
AWS_SECRET_ACCESS_KEY: Secret key generated by IAM user.
AWS_DEFAULT_REGION: Your region in AWS.
AWS_BUCKET: Your S3 bucket name. - Now just set the storage to Amazon S3 from Storage option.
- That’s all!